The Comfort of Homemade Hufflepuff’s Layer Cake Recipe
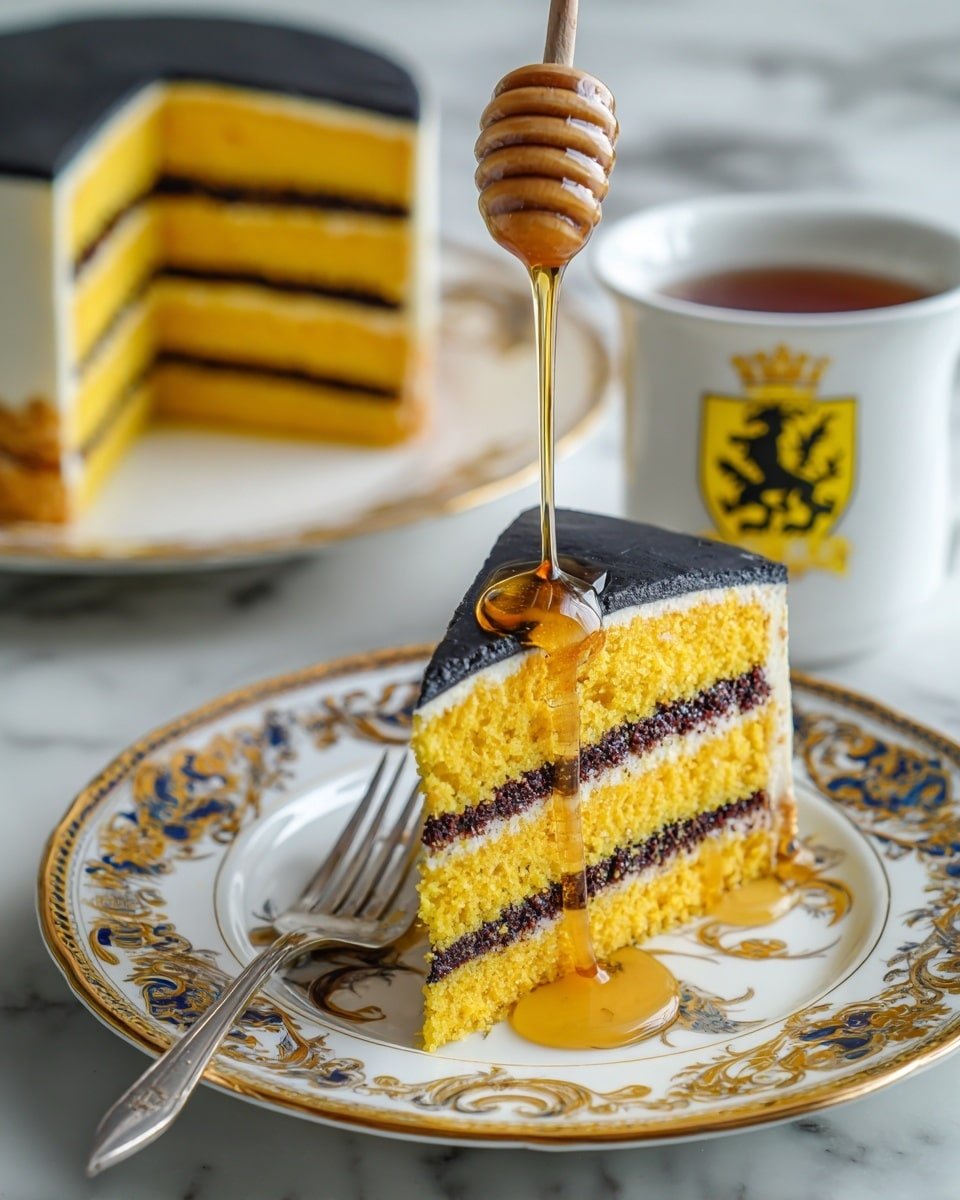
There’s something deeply satisfying about baking a cake from scratch, especially one that feels as cozy and welcoming as the Homemade Hufflepuff’s Layer Cake Recipe. I love how the golden-yellow layers remind me of sunlit afternoons and the gentle warmth of a kitchen filled with whisked batter and melting chocolate. If you’re anything like me, you’ll find this recipe both comforting and joyful to make, perfect for sharing with loved ones or savoring slice by slice over slow weekend mornings. When you dive into this cake, you’re not just baking—you’re creating a little moment of calm and celebration. The texture is velvety and tender, with a lightly crisp edge that satisfies every bite. The rich ganache and sweet frosting bring it all together, making every forkful an indulgence that feels special yet surprisingly approachable. I’ve shared this cake with friends and family, and it never fails to spark smiles and requests for seconds. Whether you’re new to baking or a seasoned pro, the Homemade Hufflepuff’s Layer Cake Recipe invites you to enjoy the journey as much as the result. Let’s talk through what makes this cake truly irresistible and how you can bring a bit of that magic into your own kitchen.What Makes It Irresistible
- Layered flavor: Comforting, rich, and beautifully balanced.
- Easy method: Steps designed for any skill level.
- Adaptable: Works with pantry swaps and seasonal twists.
- Prep-friendly: Can be made ahead without losing quality.
Ingredient Guide
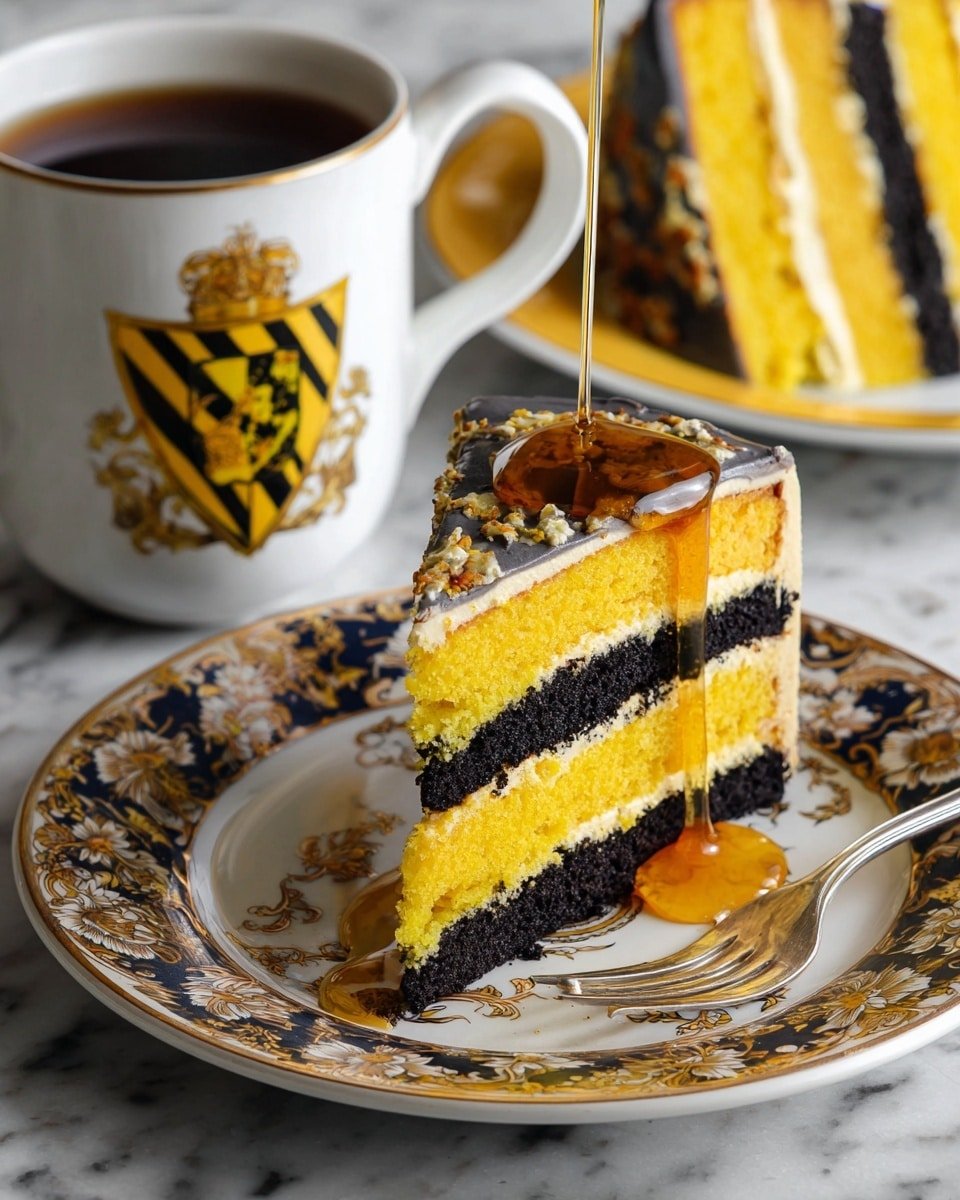
- All-purpose flour (2 cups): Your cake’s structure. Swap for gluten-free flour to keep it allergy-friendly.
- Baking powder (1 tbsp): Ensures a light, fluffy rise—make sure it’s fresh!
- Salt (½ tsp): Balances sweetness and enhances overall flavor.
- Unsalted butter (1 cup, softened): Adds richness; vegan butter works well for dairy-free.
- Granulated sugar (1¾ cups): Sweetness with a clean finish; try brown sugar for a warmer depth.
- Eggs (4 large): Bind and tenderize; flax eggs fit vegan needs.
- Vanilla extract (2 tsp): Pure vanilla elevates aroma and flavor beautifully.
- Whole milk (1 cup): Moistens the cake; plant-based milks are fine alternatives.
- Yellow gel food coloring: Optional for that signature sunny hue—turmeric is a natural stand-in.
- Heavy cream (1 cup) for ganache: Creates that smooth, glossy chocolate layer. Coconut cream keeps it dairy-free.
- Semi-sweet chocolate chips (2 cups): Melts into the ganache, balancing sweetness and richness.
- Black gel food coloring: Optional for dramatic ganache color.
- Powdered sugar (3 cups) for frosting: Gives a sweet, smooth finish. Adding cornstarch helps keep it stable.
- Optional decorations: Edible gold dust or themed toppers add a magical touch.
Prep Before You Begin
Getting organized beforehand is a game changer. Set out all your ingredients at room temperature—that way, your butter creams perfectly, and eggs blend evenly into the batter. Preheat your oven to a steady 350°F (175°C), and don’t skip greasing and flouring your cake pans to get that perfect, non-stick release. I always triple-check my oven temperature with a separate thermometer—every degree counts in baking!Tools & Setup
Here’s what you’ll want on hand so your Homemade Hufflepuff’s Layer Cake Recipe comes together smoothly—plus optional extras that make the process even easier.
How to Make Homemade Hufflepuff’s Layer Cake Recipe
- Preheat your oven to 350°F (175°C). Grease and flour three 8-inch round cake pans to ensure your layers come out clean and smooth.
- Whisk together 2 cups of all-purpose flour, 1 tablespoon of baking powder, and ½ teaspoon of salt in a mixing bowl. This dry mix sets the base for a light and airy crumb.
- Cream 1 cup softened unsalted butter with 1¾ cups granulated sugar on medium speed until the mixture is pale and fluffy—you’ll see it almost double in volume, which is key for tenderness.
- Add the eggs one at a time, beating well after each addition to keep that perfect emulsion. Then stir in 2 teaspoons of vanilla extract for that welcoming warmth.
- Alternate adding the dry ingredients and 1 cup of whole milk to the butter mixture—start and finish with the dry. Mix gently, just until combined, to avoid overworking the batter; you want it smooth but tender.
- Divide the batter evenly among your prepared pans. You’ll notice the batter is velvety and holds its shape nicely once poured. Bake for 20–25 minutes or until a toothpick comes out clean.
- Heat 1 cup of heavy cream in a small saucepan until it just starts to simmer. Pour it over 2 cups of semi-sweet chocolate chips in a bowl and let sit for 5 minutes, then gently stir into a glossy ganache.
Expert Tips to Nail It
Don’t rush the creaming of butter and sugar—it traps air to help your cake rise beautifully. When folding in the flour, use a gentle hand to keep the layers tender. Always allow the ganache to cool slightly before drizzling to avoid melting the frosting. And remember, letting your cakes fully cool before leveling and stacking keeps the layers perfectly defined.
- Cool the cakes completely. Then use a serrated knife to level each one for an even stack and spread ganache between the layers—it acts like glue and adds that rich chocolate surprise inside.
- Apply a thin crumb coat of yellow buttercream frosting over the entire cake to seal in loose crumbs. Pop it into the fridge for at least 30 minutes; this sets the base for a smooth final coat.
- Frost the cake fully with your yellow buttercream, smoothing with a spatula until velvety and inviting. Then drizzle the cooled ganache over the top, letting it drip down the sides in elegant ribbons.
- Chill your masterpiece for at least 30 minutes before serving. This final step lets everything settle, enhancing the flavors and making slicing neat and easy.
Creative Variations for Homemade Hufflepuff’s Layer Cake Recipe
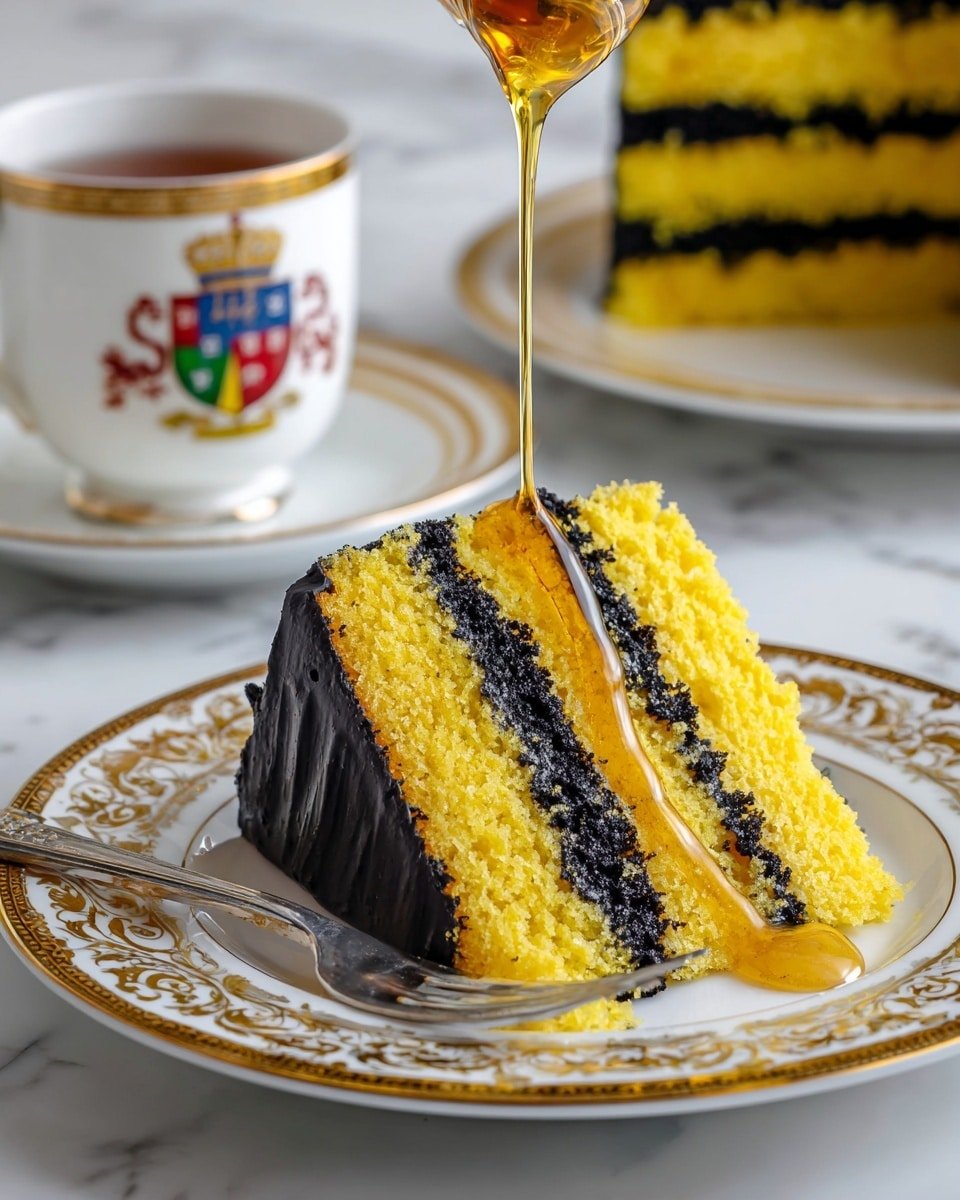
- Add a splash of orange zest to the batter for a bright, citrus twist that complements the yellow color beautifully.
- Swap the ganache for a salted caramel sauce to introduce a buttery, deep contrast to the sweet cake layers.
- Include a layer of fresh berries between cakes for a refreshing pop and a hint of tartness.
- Try using almond milk and vegan butter for a dairy-free version that’s just as creamy and rich.
- Dust edible gold powder on top or add themed cake toppers for that extra festive, magical feel.
- Mix in a pinch of turmeric instead of food coloring to give a subtle natural yellow tone and a hint of earthiness.
Storage, Freezing & Reheating
- Refrigerate: Keep your frosted cake covered in the fridge up to 4 days. Bring to room temperature before serving for the best texture.
- Freeze: Wrap individual layers in plastic wrap and foil; freeze up to 3 months. Thaw in the fridge overnight before assembling.
- Leftovers: Store uneaten slices in an airtight container, refrigerated for up to 3 days.
- Reheating: Warm slices slightly in the microwave (10–15 seconds) to soften the frosting and refresh the flavors.
Homemade Hufflepuff’s Layer Cake Recipe FAQs
- Can I make this cake vegan? Absolutely! Use flax eggs, vegan butter, and plant-based milk to keep it completely vegan-friendly.
- What if I don’t have yellow food coloring? Turmeric is a great natural option that won’t overpower the cake’s flavor.
- How do I know when the cake is done? A toothpick inserted in the center should come out clean or with just a few moist crumbs.
- Can I prepare the cake ahead of time? Yes, bake and assemble the cake a day ahead. Keep it refrigerated and bring to room temperature before serving.
- How do I prevent the ganache from melting the frosting? Allow the ganache to cool to room temperature but remain pourable before drizzling over the frosted cake.
Homemade Hufflepuff’s Layer Cake Recipe
A delightful homemade Hufflepuff’s Layer Cake featuring moist, buttery yellow layers with a rich chocolate ganache filling and smooth yellow buttercream frosting. Perfect for Harry Potter fans and special occasions, this cake combines classic baking techniques with whimsical colors and a luscious finish.
- Prep Time: 20 minutes
- Cook Time: 25 minutes
- Total Time: 1 hour 45 minutes
- Yield: 12 servings
- Category: Dessert
- Method: Baking
- Cuisine: American
Ingredients
For the Cake
- 2 cups all-purpose flour (substitute with gluten-free flour mix if needed)
- 1 tbsp baking powder (fresh for best rise)
- 1/2 tsp salt
- 1 cup unsalted butter, softened (vegan butter for dairy-free option)
- 1 3/4 cups granulated sugar (brown sugar can be used for deeper flavor)
- 4 large eggs (flax eggs as vegan alternative)
- 2 tsp vanilla extract (pure vanilla preferred)
- 1 cup whole milk (any plant-based milk for dairy-free version)
- Several drops yellow gel food coloring (optional; turmeric as natural alternative)
For the Ganache
- 1 cup heavy cream (coconut cream for non-dairy substitute)
- 2 cups semi-sweet chocolate chips (dark chocolate for deeper taste)
- Several drops black gel food coloring (optional)
For the Frosting
- 3 cups powdered sugar (add cornstarch for stability if homemade)
Optional Decorations
- Additional decorations such as edible gold dust or themed cake toppers
Instructions
- Preheat and Prepare Pans: Preheat your oven to 350°F (175°C). Grease and flour three 8-inch round cake pans to ensure easy cake release and even baking.
- Mix Dry Ingredients: In a mixing bowl, whisk together 2 cups of all-purpose flour, 1 tablespoon of baking powder, and 1/2 teaspoon of salt until well combined.
- Cream Butter and Sugar: Using a stand mixer, beat 1 cup of softened unsalted butter with 1 3/4 cups of granulated sugar on medium speed until the mixture turns light and fluffy, which incorporates air for a tender crumb.
- Add Eggs and Vanilla: Add 4 large eggs one at a time to the butter and sugar mixture, beating well after each addition. Stir in 2 teaspoons of vanilla extract for flavor.
- Combine Wet and Dry Ingredients: Gradually add the dry ingredients to the wet mixture, alternating with 1 cup of whole milk. Mix just until combined to avoid overworking the batter, which could make the cake dense.
- Bake the Cakes: Divide the batter evenly among the prepared cake pans and bake in the preheated oven for 20-25 minutes, or until a toothpick inserted into the center comes out clean. Allow to cool completely.
- Prepare Ganache: In a small saucepan, heat 1 cup of heavy cream until it begins to simmer. Pour the hot cream over 2 cups of semi-sweet chocolate chips in a bowl. Let it sit briefly, then stir until smooth and glossy. Add black gel food coloring if desired and mix evenly.
- Level and Assemble: Once the cakes are fully cooled, use a serrated knife to level the tops for stability. Stack the cake layers, spreading ganache evenly between each layer for a rich filling.
- Apply Crumb Coat: Frost the assembled cake with a thin crumb coat of yellow buttercream frosting to seal in crumbs. Refrigerate for 30 minutes to set the crumb coat.
- Final Frosting and Ganache Drizzle: Apply a final smooth layer of yellow buttercream frosting all over the cake. Drizzle with the cooled ganache evenly over the top and sides for a decadent finish.
- Chill and Serve: Chill the cake for at least 30 minutes to allow set before slicing and serving. Optionally, decorate with edible gold dust or themed cake toppers for extra flair.
Notes
- Substitute all-purpose flour with gluten-free mix for gluten-free diets.
- Use vegan butter and flax egg substitutes for a dairy-free and egg-free version.
- Yellow gel food coloring can be replaced with natural turmeric powder for a subtle yellow tint.
- The ganache can be made dairy-free by using coconut cream instead of heavy cream.
- Ensure baking powder is fresh to achieve a good rise in the cake.
- Chilling the cake after crumb coating helps set the frosting and makes the final decorating easier.
- Store leftovers covered in the refrigerator and consume within 3-4 days for best freshness.


