The Comfort of Christmas Oreo Balls Recipe
Nothing quite wraps me in the cozy spirit of the holidays like these Christmas Oreo Balls Recipe. The blend of crunchy Oreo cookies and silky cream cheese creates a velvety, indulgent treat that feels both nostalgic and festive. I love how the red velvet and classic Oreo crumbs come together to give you a visual and flavor contrast that’s as delightful to the eyes as it is to your palate.
When you make these, you’ll notice how quickly simple ingredients can transform into beautiful little cubes of joy, perfect for sharing (or keeping all to yourself). These treats are all about comfort, with a lightly crisp candy shell wrapped around the soft, rich center. It’s the kind of bite you want during a relaxed afternoon with a warm mug of cocoa, or to impress guests without spending hours in the kitchen.
So, if you’re looking to add a charming, homemade touch to your holiday dessert table, this Christmas Oreo Balls Recipe is the answer. The festive colors and easy assembly make it a go-to for last-minute gift ideas, party trays, or just a sweet pick-me-up on those chilly winter nights.
What Makes It Irresistible
- Layered flavor: Comforting, rich, and beautifully balanced.
- Easy method: Steps designed for any skill level.
- Adaptable: Works with pantry swaps and seasonal twists.
- Prep-friendly: Can be made ahead without losing quality.
Ingredient Guide

- 22 regular Oreo cookies – The classic base, providing that familiar chocolate crunch.
- 22 Red Velvet Oreo cookies – Adds a tender texture and mildly cocoa-rich flavor, with a festive hue.
- 8 oz cream cheese, softened to room temperature, divided – Binds the crumbs and lends creamy tanginess for balanced richness.
- 10 oz red candy melts, divided – For dipping and decorative bows; bright festive color.
- 10 oz dark green candy melts, divided – Counterpoint color to the red; creates a lovely Christmas palette.
- 10 oz white candy melts, divided – Clean, smooth canvas for drizzles and sparkle.
- White sparkly sanding sugar (optional) – Adds a delicate crunch and shimmer, perfect for that holiday sparkle.
Prep Before You Begin
Ahead of making these Christmas Oreo Balls Recipe, you’ll want to set aside a bit of time to soften your cream cheese—this makes all the difference in smooth, even blending. Also, line your baking sheets with parchment paper early on to keep things neat when dipping and decorating. Since candy melts can seize if overheated, plan to melt them gradually, stirring often to keep that glossy, luscious texture.
Tools & Setup
Here’s what you’ll want on hand so your Christmas Oreo Balls Recipe comes together smoothly—plus optional extras that make the process even easier.
How to Make Christmas Oreo Balls Recipe
- Line a cookie sheet with parchment paper and set it aside. This will keep your Oreo balls from sticking and make cleanup a breeze.
- Pulse the Oreo cookies in a food processor until finely ground. Transfer the classic Oreos to one bowl, then repeat the process with the Red Velvet Oreos and put those crumbs in a separate bowl. The fine crumb texture helps the balls bind beautifully without feeling gritty.
- Blend half of the cream cheese in a medium mixing bowl until smooth and creamy. You want it soft enough to fold the crumbs into effortlessly without lumps.
- Add the classic Oreo crumbs to the softened cream cheese and mix thoroughly until combined into a rich, chocolatey dough.
- Repeat the blending with the remaining cream cheese and Red Velvet Oreo crumbs, creating your second batch of dough. I love this step because you end up with two visually striking yet equally delicious flavors.
- Using a 1.5-inch cookie scoop, form evenly sized Oreo cream cheese balls from each dough. Then, gently shape them into cubes with your hands and place them on the prepared baking sheet. The cube shape adds a festive, gift-like appearance that’s perfect for holiday presentation.
- Refrigerate the formed cubes for two hours. This chilling step firms them up, making them easier to dip and helping the candy coating set smoothly.
Expert Tips to Nail It
Small adjustments that make a big difference in texture, timing, and flavor so your Christmas Oreo Balls Recipe turns out reliably amazing.
- Melt the candy melts for bows in a microwave-safe bowl using 30-second bursts, stirring well in between. This keeps the melts smooth and prevents burning.
- Pour the melted candy into silicone bow molds and refrigerate until firm. These bows add a charming finishing touch that’s surprisingly simple to achieve.
- Melt the candy melts for dipping in the same careful microwave method. Use separate bowls if you want to coat different batches in different colors for that festive vibe.
- Dip each Oreo cube into the melted candy melt using a fork, allowing excess chocolate to drip before placing them back on the parchment-lined baking sheet. You’ll appreciate the glossy, even coating as it solidifies.
- Sprinkle sanding sugar or festive sprinkles on top immediately after dipping to add texture and shimmer—this step elevates the treat’s festive look and adds a subtle crunch.
- Repeat the dipping and decorating with remaining truffles using other candy melt colors for variety. Mixing red, green, and white ribbons creates a beautiful holiday palette that catches the eye every time.
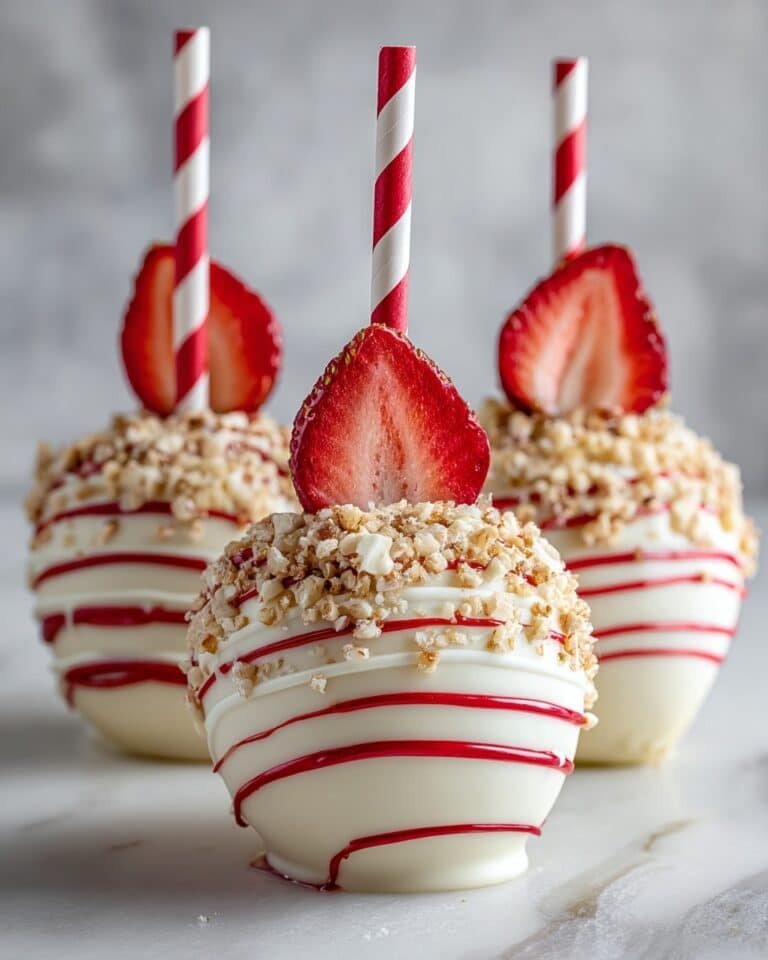
- Melt the remaining candy melts to drizzle over the coated truffles. Using a piping bag, drizzle contrasting colors in thin ribbons over the shapes. Place your mini candy bows on top once the drizzle sets to complete the look.
- Let decorations set completely before serving, giving the candy coating a chance to harden fully for that satisfying snap when you bite in.
Creative Variations for Christmas Oreo Balls Recipe

- Add crushed peppermint into the crumbs or sprinkle candy cane bits on top for a refreshing winter twist.
- Swap Red Velvet Oreos for mint-flavored or chocolate peppermint Oreos to give a new spin on classic flavors.
- For a boozy adult version, mix in a splash of Baileys Irish Cream or rum extract to the cream cheese blends.
- Use red and green colored sugar crystals instead of sanding sugar for a different sparkle effect.
- Try dipping in dark chocolate or white chocolate with holiday-themed sprinkles for extra decadence.
- Shape into spheres instead of cubes for a traditional round truffle look.
Storage, Freezing & Reheating
- Store finished Christmas Oreo Balls in an airtight container in the refrigerator for up to 1 week.
- Freeze for longer storage up to 3 months, layering parchment paper between to prevent sticking.
- Thaw in the fridge overnight before serving to maintain texture.
- Avoid leaving them out at room temperature for extended periods as the cream cheese center may soften too much.
- Re-dip or re-drizzle any spots that lose coating crispness after thawing for best presentation.
Christmas Oreo Balls Recipe FAQs
- Can I use other cream cheese brands? Absolutely—just make sure it’s full-fat and softened to room temperature to achieve the best texture.
- Can I prepare the Oreo balls ahead of time? Yes! The balls can be made and refrigerated or frozen before dipping in candy melts, making your holiday prep easier.
- What if I don’t have a food processor? You can crush Oreos inside a sealed plastic bag using a rolling pin until finely ground, though texture might be slightly coarser.
- How do I fix candy melts that are too thick? Stir in a teaspoon of vegetable oil or shortening incrementally until smooth and dippable.
- Are these suitable for gifting? They’re perfect! Pack them in decorative boxes or tins for a heartfelt homemade holiday gift.
Christmas Oreo Balls Recipe
Delightfully festive Christmas Oreo Balls featuring red velvet and classic Oreos blended with cream cheese, coated in colorful candy melts, and decorated with sparkling sanding sugar and chocolate bows for a perfect holiday treat.
- Prep Time: 30 minutes
- Cook Time: 2 hours (chill time)
- Total Time: 2 hours 30 minutes
- Yield: Approximately 44 Oreo balls
- Category: Dessert
- Method: No-Cook
- Cuisine: American
- Diet: Vegetarian
Ingredients
Cookies and Cream Cheese
- 22 regular Oreo cookies
- 22 Red Velvet Oreo cookies
- 8 oz cream cheese, softened to room temperature, divided
Candy Coatings and Decorations
- 10 oz red candy melts, divided
- 10 oz dark green candy melts, divided
- 10 oz white candy melts, divided
- White sparkly sanding sugar (optional)
Instructions
- Prepare Baking Sheet: Line a cookie sheet with parchment paper and set it aside to prevent the Oreo balls from sticking during chilling and decorating.
- Grind Oreo Cookies: Pulse the 22 regular Oreo cookies in a food processor until finely ground; transfer crumbs to a bowl. Repeat with 22 Red Velvet Oreo cookies and place crumbs in a separate bowl.
- Mix Regular Oreo Balls: In a medium mixing bowl, blend half (4 oz) of the softened cream cheese until smooth. Add the regular Oreo crumbs and mix thoroughly to form a uniform mixture.
- Mix Red Velvet Oreo Balls: Repeat the blending with the remaining cream cheese and the Red Velvet Oreo crumbs in another bowl until well combined.
- Form Balls: Using a 1.5-inch cookie scoop, form evenly sized balls from each mixture and gently shape them into cubes. Place them on the prepared baking sheet, keeping the two types separate for easier decorating.
- Chill: Refrigerate the formed Oreo balls for 2 hours, allowing them to firm up for easier dipping and decorating.
- Melt Candy for Bows: Melt the desired color of candy melts (red, green, or white) in a microwave-safe bowl using 30-second intervals, stirring between each until smooth and completely melted.
- Make Chocolate Bows: Pour the melted candy into silicone bow molds and refrigerate until fully set and hardened, typically about 15-20 minutes.
- Melt Candy for Dipping: Melt additional candy melts of your choice using the same microwave method for dipping the Oreo balls.
- Dip Oreo Balls: Using a fork, dip each chilled Oreo ball into the melted candy melts, allowing excess chocolate to drip back into the bowl. Place the coated balls on the parchment-lined tray.
- Add Decorations: While the coating is still wet, top with optional white sanding sugar or festive sprinkles for extra sparkle and holiday flair.
- Coat Remaining Balls: Repeat the dipping and decorating process with the remaining Oreo balls using different colors of candy melts for variety.
- Drizzle Chocolate Ribbon: Melt the remaining candy melts and transfer to a piping bag or resealable plastic bag with a small tip cut off. Drizzle over the coated Oreo balls to create a ribbon effect.
- Add Final Touches: Once the drizzle sets slightly but is still tacky, add mini chocolate bows on top as festive accents.
- Setfully: Allow all decorations to fully set at room temperature or briefly in the refrigerator before serving and enjoying.
Notes
- Make sure the cream cheese is softened to room temperature for easy mixing.
- Refrigeration ensures the balls maintain shape during dipping and decoration.
- Use silicone molds for easy removal of candy bows without breaking.
- Different colors of candy melts allow for stylish holiday presentation.
- Sanding sugar adds a festive sparkling effect to the truffles.
- The drizzle technique adds an elegant ribbon look to complement the chocolate bows.


